Instructions for Creating an AMP Test
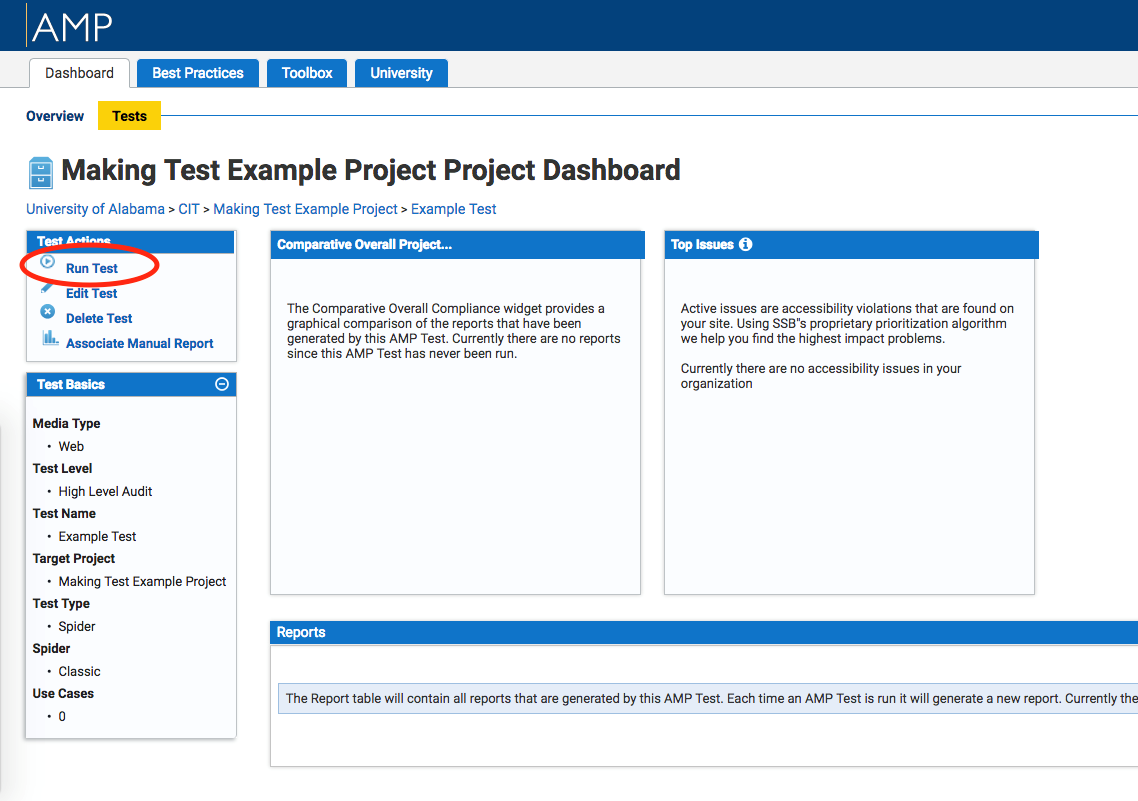
- After creating a project, you will be redirected to the project dashboard. In the project dashboard, navigate to the sub menu “Tests”.
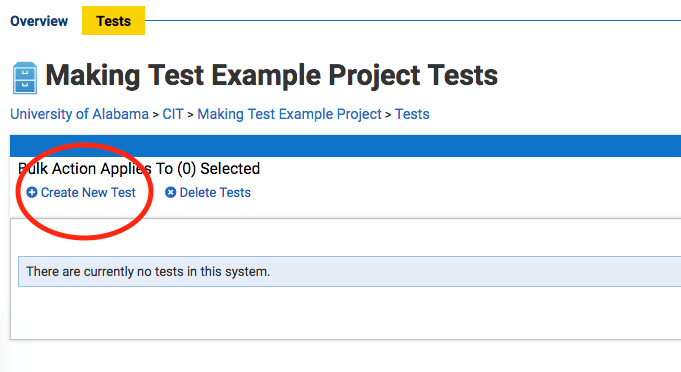
2. Next, navigate to the “Create New Test” link near the top of the dashboard

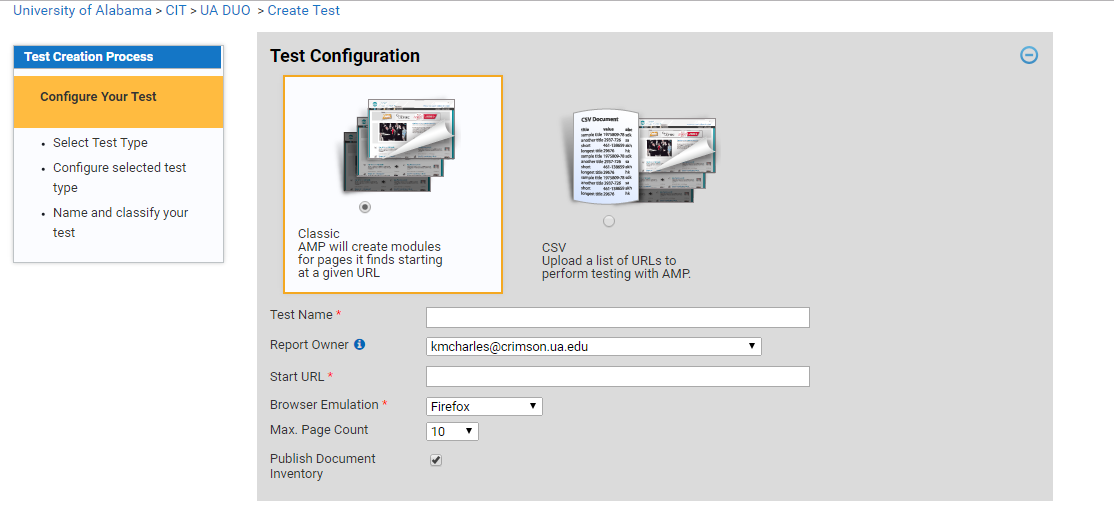
3. Next, set up the test creation process in the Test Configuration form.
- Select Classic to run a test that will automatically scan the site
- Give the test a name in “Test Name” field
- Designate a test owner if necessary
- Specify a “Start URL” such as https://www.accessibility.ua.edu
- Select “Browser Emulation” if necessary
- Select “Max. Page Count “or total number of pages the spider should collect, if necessary
- Select Publish Document Inventory if you would like to include a section of website documents such as PDFs
4. Next, set up “Test Scheduling”. This is optional. The user can select the test to run daily, weekly, monthly, quarterly or yearly and also at a specific time.
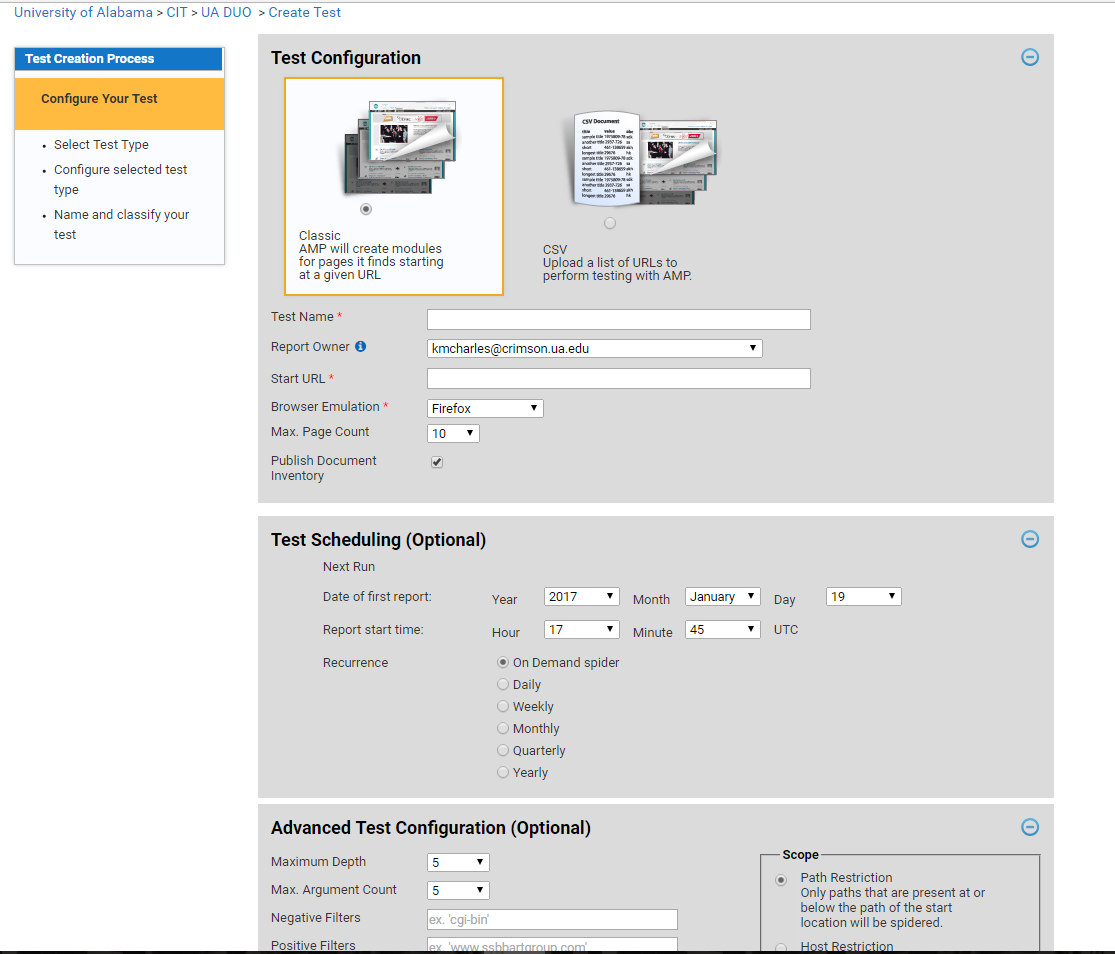
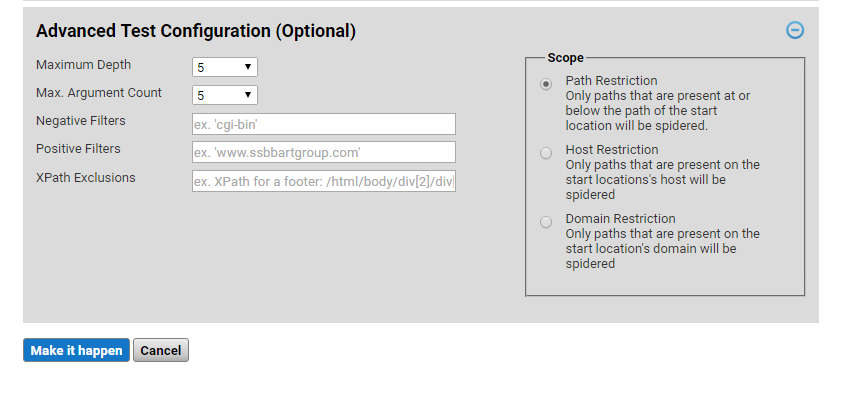
5. Advanced Test Configuration options can be selected as well. This optional. Then navigate to “Make It Happen”. For more details on Advanced Test Configurations, visit AMP Support website.
6. After selecting make it happen, the test dashboard will now display. To begin the test, select the “Run Test” link in the Test Actions box. The test will run and a report will be displayed in the Reports widget. To view the test results, navigate to the report link.